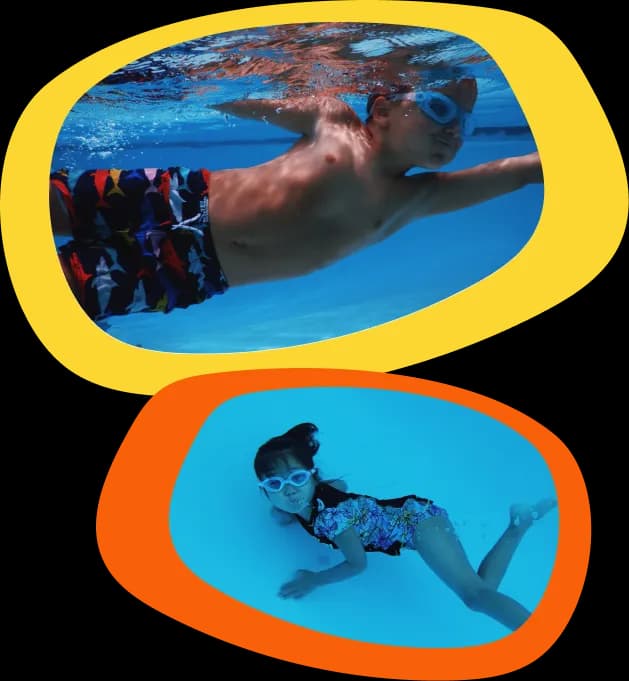
Swimming Skills to Practice At Home
Written by Courtney Hill — 6 min read

Swimming Skills to Practice At Home
Did you know you can have your child practice their swimming skills without even being in the pool? Well, you’re in luck. I am going to tell you how you can utilize household items to help your kids practice their swimming skills. It is beneficial to practice their skills outside of the pool because it allows them to understand their body positioning without the effects of the water. It gives them the confidence and the ability to trust their body in knowing what it should do to swim or to be water safe. For example, learning to be in the back float position on the ground can help them transition to back floating in the pool.
Back Float Practice
To practice back floating out of the water all you need:
- flat surface
- small toy or object.
The proper back floating position starts with being relaxed. If your child is not relaxed, back floating becomes more difficult to stay afloat. This skill can be practice by simply lying flat on their back on a flat surface. While lying down, the objective is to instruct your child to focus on their breathing; inhaling through their mouth and exhaling through their nose. People have the most trouble floating on their backs because the fear of getting water into their nose. Exhaling through your nose helps with that because if air comes out, water can’t go in.

Once they are focused on their breathing pattern and feel comfortable, the next step is to practice their body position. The key points are arms, legs, head, and chest. When explaining the positioning of their arms and legs to children I compare back floating to being a starfish. The starfish because your arm and legs should be relaxed and out to the sides of you.
The five points of the star fish:
- Left Arm
- Right Arm
- Left Leg
- Right Legs
- Head
I also compare it to being a pancake because while back floating it is essential to remain flat with your chest raised and your chin pointing toward the sky. If they curl up into a ball their face will go under and if they look at your toes instead of the sky/ceiling, their face will fall under the water as well.
The end position should be your child on their backs with their arms and legs out to the side, stomach raised, and head back so that the chin is pointing toward the ceiling. This is where the small toy or object comes into play. You’ll take the small toy and place it right under your child’s lower ribs and instruct them to raise the toy/object as high as it can go with their stomach. The skill that is being practiced is remaining flat and encouraging them to rise their stomachs to allow the face to remain above the water.
Log Rolling on Dry Land
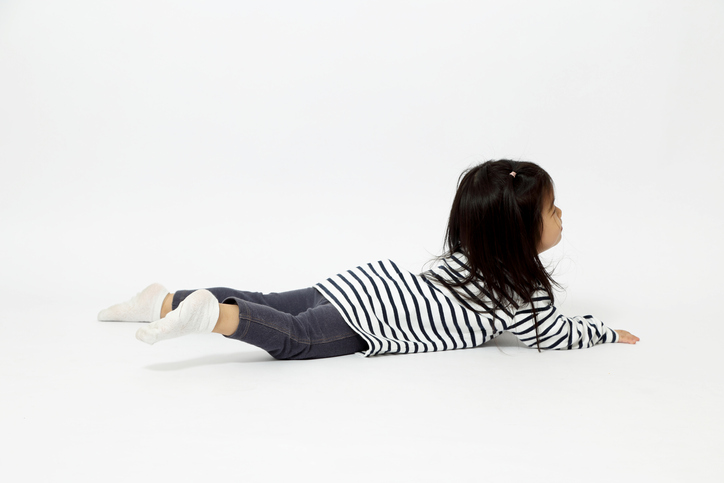
Another skill that can be practiced on a flat surface is rolling from their backs to stomach and vice versa. This skill is normally taught to children as a first skill because it is easier for them to learn to turn all the way on their back to take a breath rather than the typically side breathing. The first part of the skill is to become comfortable with going from a back float to a front float position. Starting your child in the back float position on a flat surface, instruct them to roll over onto your stomach. The important part of this exercise is the breathing. Before you roll inhale through your mouth and as you begin to roll onto your stomach exhale (blow bubbles) through your nose. This helps your child not to get water into their nose once they turn and put their face in. Important things to remember is keeping their head in a level position and not dropping their chin to chest or lifting the head. For this skill, the head should not move and your rolling should begin with the shoulders, then the hips, and then the head to follow.
Once comfortable from going to the back to the stomach, you can move your child onto rolling from their stomach to their back. This skill tends to be a little harder for most people. The most important part is positioning of the head and raising their stomachs. As soon as they roll from their stomach to their back, instruct your child to point their chin to the sky as fast as they can, followed by raising their tummy to the sky, and then relaxing into the proper back float position.
Breathing is Important
The most difficult part of swimming is the breathing. It is difficult because most people believe that holding your breath under the water is the best way to swim. That is why some encourage their kids to have puffy cheeks and hold their nose. Despite the common belief, the best way to swim efficiently is to mimic the body’s natural breathing pattern. During our daily lives, we breath none stop without even focusing on it as swimming should be the same. Outside of the water some people breath solely though their mouth, some through their nose and mouth, and some just the nose. For swimming, breathing in through your mouth and breathing out through your nose is gold standard. This is because the body can’t inhale and exhale at the same time so it reducing the risk of inhaling water and risking water up your nose.
The ability to practice this skill is easy and all you have to instruct your child to focus on your breathing and creating a pattern that works for them.
Examples:
- Long inhale with a short forceful exhale
- Fast inhale with a long exhale
- Fast inhale with a fast exhale
- Long inhale with a long exhale
Breathing is unique and differs from person to person. You can encourage your child to practice while you make them something to eat, when their watching TV, or coloring. Whatever makes you and your child comfortable to practice breathing. If you feel like your child is ready, you can have them practice in the bath tub. You can have them inhale through their mouth and exhale, cue blow bubbles, through their nose under the water. Some children may be confused with the idea of blowing bubbles through their nose.
Some help cues include:
- Humming under the water
- Blowing into a tissue

For younger children, 12 months-4 years old, it might be a little more difficult to teach them blowing bubbles through the nose. If that is the case, straw can be used to help them learn the basics of breathing. You can have them inhale and blowing air into the straw, this can be done with no liquid but you can add a cup of water or the bathtub element to encourage blowing bubbles. This will allow them to practice to exhale rather than inhale.
Courtney Hill’s bio:
Swim Instructor in San Diego, CA
I am currently a senior at San Diego State University. I have been teaching swim lessons and lifeguarding for 7 years. I have been with Sunsational Swim School for 2 years. I keep my swimming skills by participating in a local master's swim team. I also have 8 years of experience with babysitting and I love to help children succeed in any way that I can.
Share on socials